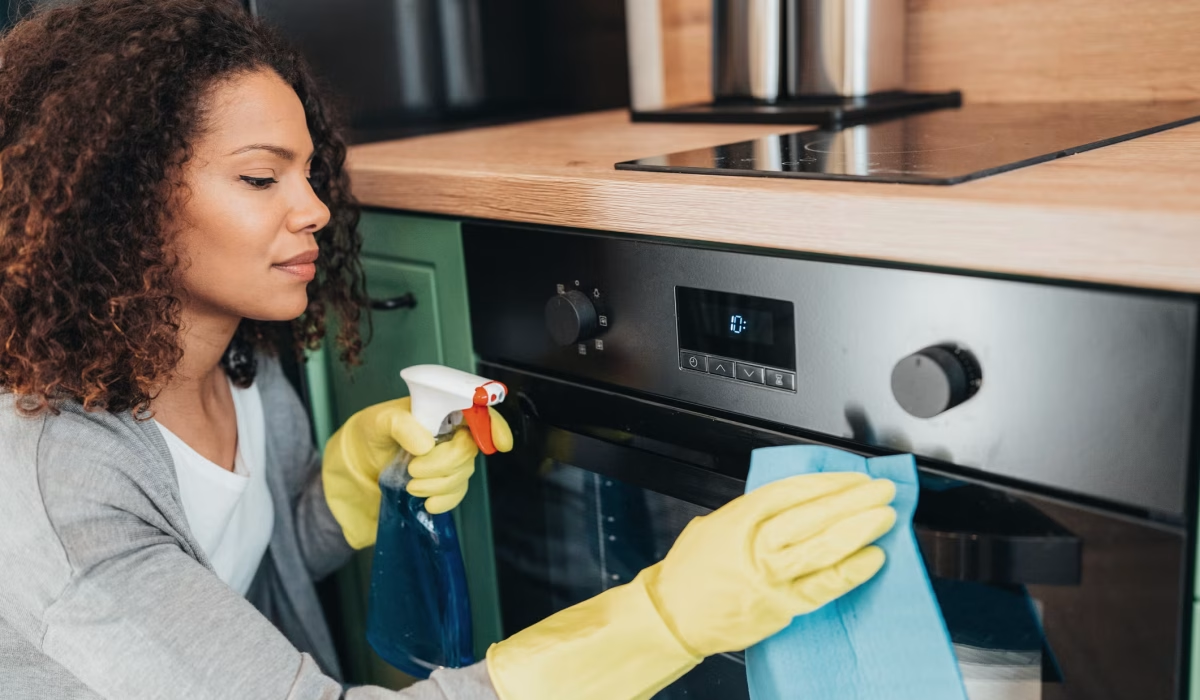
Cleaning the oven is one of those household jobs that is easy to put off. You can wipe the kitchen counters every day, sweep the floor, and wash the dishes, but the oven door often stays closed on all that built-up grease and burnt-on food.
Then one day, you notice smoke when you’re cooking—or your kitchen starts smelling like last month’s dinner.
The good news is that cleaning an oven doesn’t have to mean spending an entire day scrubbing. With the right method and a few useful tools, you can remove grease, loosen stubborn food, and get your oven looking much better.
Here’s a practical guide to the best way to clean an oven, along with tips for choosing cleaning products and avoiding common mistakes.
1. Check Your Oven’s Instructions First
Before you start, check the manufacturer’s instructions for your oven.
Some ovens have special finishes, heating elements, fans, or self-cleaning functions that require specific care. Using the wrong product or cleaning method could damage the interior.
If your oven has a self-cleaning setting, read the instructions carefully before using it. Don’t assume every oven works the same way.
When you’re unsure, choose a gentle cleaning method and avoid applying products directly to heating elements.
2. Make Sure the Oven Is Completely Cool
Safety comes first.
Never begin cleaning while the oven is hot. Turn it off, unplug it if appropriate for your appliance, and allow it to cool completely.
Remove oven racks, trays, thermometers, and other removable items.
It’s much easier to clean the interior when you can reach all the corners without working around racks.
3. Remove Loose Crumbs and Food
Before using any cleaner, get rid of the loose mess.
Use a dry cloth, paper towel, soft brush, or suitable vacuum attachment to remove crumbs and burnt food particles from the bottom of the oven.
Don’t worry about stubborn spots yet. The goal at this stage is simply to clear away everything that can be removed without scrubbing.
This small step makes the rest of the cleaning process much easier.
4. Soften Stubborn Grease First
Trying to scrub baked-on grease while it’s completely dry can take forever.
Instead, soften it first.
One simple approach is to place an oven-safe dish containing hot water inside the oven and allow the steam to loosen some of the grime. Follow your oven manufacturer’s guidance before using this method.
Once the grease has softened, wipe away what you can with a cloth or non-abrasive sponge.
For particularly stubborn areas, a suitable oven cleaner may be more effective.
5. Choose an Oven Cleaner Carefully
There are plenty of oven cleaning products available, but stronger isn’t always better.
When choosing a product, check the label to make sure it is suitable for your oven’s interior surface.
Look for features such as:
- Designed specifically for ovens
- Suitable for the type of surface you’re cleaning
- Effective on baked-on grease
- Clear instructions for safe use
- Appropriate ventilation requirements
Always follow the manufacturer’s instructions. Wear protective gloves when recommended and make sure the kitchen is properly ventilated.
Never mix different cleaning chemicals. Combining products can create dangerous fumes.
6. Use Baking Soda for a Gentle Alternative
If you’d rather avoid a strong commercial cleaner, baking soda is a popular household option for tackling grime.
Mix baking soda with a small amount of water to create a spreadable paste. Apply it to suitable dirty areas, avoiding heating elements and surfaces that the manufacturer says should not be treated this way.
Allow it to sit for several hours if appropriate, then wipe away the residue with a damp cloth.
This approach can take more time than a dedicated oven cleaner, but it may be useful for routine cleaning and lighter buildup.
Always check your oven’s care instructions before using baking soda or any homemade cleaning mixture.
7. Don’t Forget the Oven Door
A dirty oven door can make the whole appliance look worse than it is.
Wipe the inside of the door with a suitable cleaner and soft cloth. Pay particular attention to grease around the edges.
If your oven has removable door glass, don’t take it apart unless the manufacturer specifically provides instructions for doing so. Some doors have complicated mechanisms, and incorrect disassembly can cause damage.
For the outside of the door, use a cleaner appropriate for the finish, especially if it is stainless steel or another delicate surface.
8. Clean the Oven Racks Separately
The racks often have some of the toughest baked-on residue.
Remove them and clean them separately rather than trying to scrub them inside the oven.
Depending on the manufacturer’s instructions, you may be able to soak them in warm, soapy water to loosen grease. A non-abrasive scrubber can then help remove remaining buildup.
Dry the racks completely before putting them back.
Avoid using aggressive tools that could damage the rack’s finish.
9. Avoid Common Oven-Cleaning Mistakes
A few shortcuts can create more problems than they solve.
Avoid:
- Spraying cleaner directly onto heating elements
- Using abrasive tools that can scratch surfaces
- Soaking electrical components
- Mixing cleaning chemicals
- Cleaning while the oven is hot
- Ignoring manufacturer instructions
- Blocking ventilation during product use
If you’re unsure whether a particular cleaner is safe, check the product label and your oven manual before using it.
10. Pick the Right Cleaning Tools
You don’t need a huge collection of specialized equipment.
A few basic supplies can make oven cleaning much easier:
- Microfiber cloths
- Non-abrasive sponges
- Cleaning gloves
- A soft brush
- A suitable oven cleaner
- Baking soda, if appropriate
- A plastic scraper designed for the surface
When buying an oven-cleaning tool, think about the surface you’re cleaning. A tool that is too abrasive may leave scratches or damage a finish.
For most routine cleaning, gentle tools combined with patience are better than aggressive scrubbing.
11. Clean Small Messes Before They Become Big Ones
One of the best oven-cleaning tips is also the simplest: don’t let spills sit for months.
You don’t need to deep-clean your oven after every meal. But once the oven has cooled, wiping up fresh spills can prevent them from becoming hard, baked-on deposits.
Use an oven tray or baking sheet when appropriate to catch potential spills. Be careful not to block vents or interfere with normal oven operation.
A few minutes of maintenance now can save you a much longer cleaning session later.
12. How Often Should You Clean an Oven?
The right cleaning schedule depends on how frequently you cook and what you cook.
If you regularly roast fatty foods or bake dishes that spill, you may need to clean your oven more often.
A quick wipe-down every few weeks can help prevent heavy buildup, while a deeper clean can be done when grease and residue become noticeable.
If you notice smoke, strong odors, or significant buildup, don’t keep putting off the job.
Final Thoughts
The best way to clean an oven is to work gradually rather than waiting until grease and burnt food have formed a thick layer.
Start with a completely cool oven, remove the racks, clear away loose debris, and soften stubborn buildup before tackling it. Choose a cleaning product that is specifically suitable for your oven, or use a gentler alternative if the manufacturer allows it.
Take your time with the door and racks, avoid abrasive tools and heating elements, and always follow the appliance and product instructions.
Once you’ve done the deep clean, regular maintenance becomes much easier. A quick wipe after messy cooking can prevent hours of scrubbing later—and your next meal will be cooking in a much cleaner oven.
Leave a Reply